
Piecing the "Yellow Bird Nest" Quilt
Earlier this month, as I was sitting in the by the flickering flames of gas logs in the Yellow Bird Nest at Chapman Knoll, sipping tea and completely enjoying my surroundings of peace, quiet, and the comfortable presence of the companionship of my husband as he read across the room, the pattern of the rug on the floor caught my eye.

Because I have been wanting to make a quilt with diamonds, I retrieved my notebook from my luggage so that I could sketch a quilt design that was coming together in my mind. Of course, because I didn’t have a ruler, I had to roughly sketch it in square grid format instead of the diamond shapes that appeared in the rug.

As it turned out, however, this square grid was exactly the way that I needed the design to be because one of the fabrics that I wanted to use looked better cut into squares than the 60-degree diamonds as originally planned.
My plan was to make a two-color quilt, using fabrics that I already had in my fabric collection, and I could not wait to get started! And so one evening, while Ryan was taking care of the girls, I started cutting the fabrics for the quilt. It was so exciting to see the idea becoming a reality! I cut out a few of each of the fabrics and lay them out to make sure that it appeared the way I had imagined. For this block, I had to decide which yellow to choose for the center:

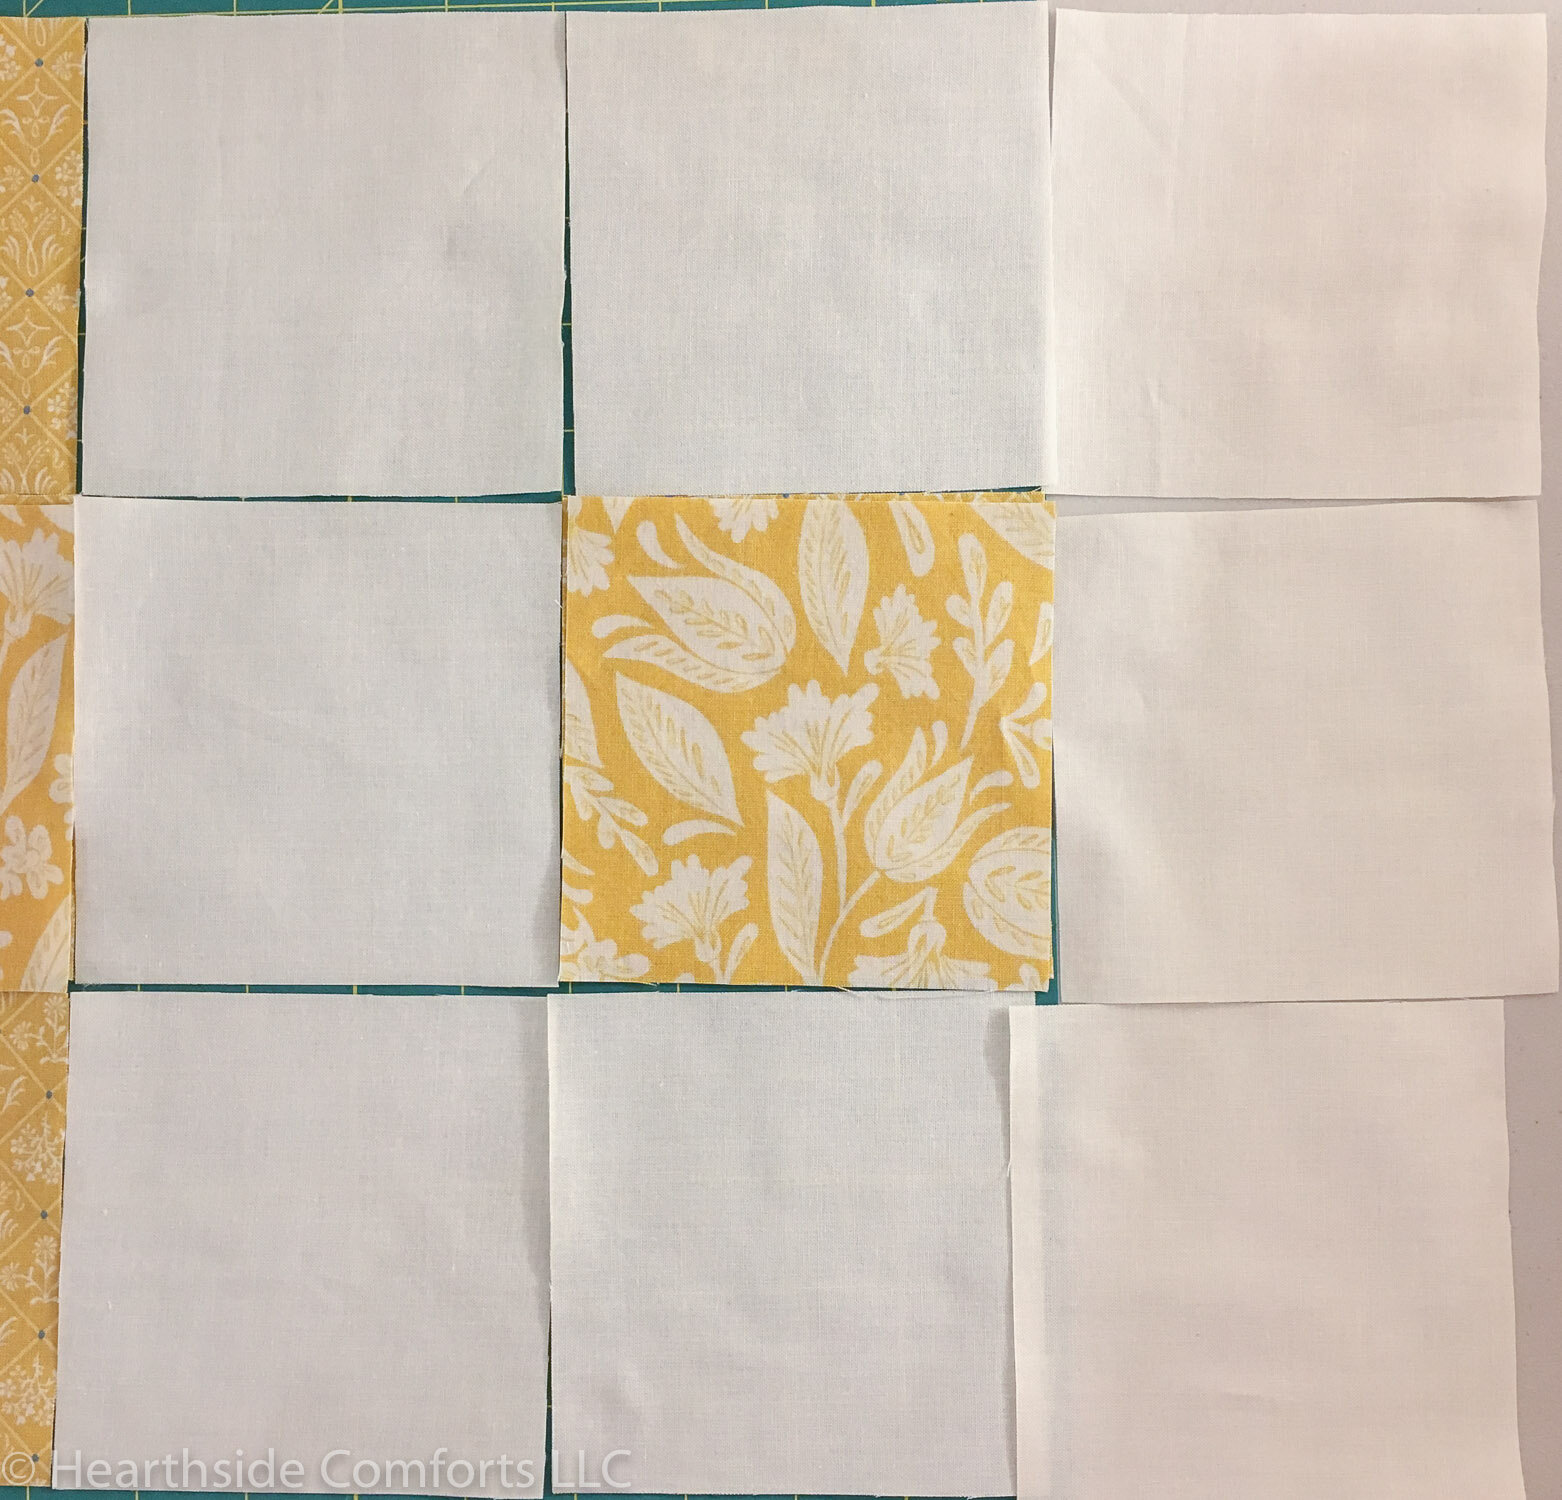
I chose the first fabric with the smaller pattern for two reasons: I liked the less bold statement that it made and it also completed the pattern of the first nine-patch block, making it appear as though I had inversed the normal pattern of the blocks. (Often, I have seen nine-patch block quilts have a block of solid fabric between the patched blocks to provide contrast).
Once I had some squares sewn together and pressed, I was pleased with the result.


Although these were square blocks, I knew that by piecing them on point, I could mimic the diamond pattern in the rug.

As I was cutting out the squares, I had set aside my scraps for the girls to sew. When I informed Ellie, she was delighted and starting designing her own “quilt.” I helped her get started stitching, and she finished the seam and then started with the next. I don’t think her stitching is too bad for a 5-year old. She is very meticulous and came to me panicked because she had gotten about 1/16” inch off of the seam line that I had drawn for her one her second seam (not pictured). I assured her that it was okay. She just needs to practice and practice and eventually the accuracy will be easier.


As I was working on piecing the quilt, I posted the progress in my Instagram stories. (If you have an Instagram account, you can follow along on my projects in real-time if you wish. My account handle is @hearthsidecomforts.) Because I am planning to embellish some of the seams with hand-stitched embroidery, I asked for feedback regarding the color of thread to use: blue or white. The results were 33% for blue and 67% for white. At this point, I am planning to use an off-white cotton thread (not the bright white shown below). I think that the blue would provide a striking contrast; however, I also have another project that I want to use it for—so the feedback confirmed that I should save the thread for its original purpose.

Often, people ask how long it takes me to make things. I usually don’t keep track, but this time, I decided to do so. Often I sew for a few minutes here and there, but this time, I decided to work in blocks of time and write it down. So far, this quilt top has taken me nearly 15 hours for cutting and piecing. This quilt has come together far more quickly than most because of the simplicity of the design. Also, I learned during this project that making scrap quilts (which is mostly what I have done) takes much longer because of the thought process that goes into coordinating the fabrics.
Working with this cheerful yellow color has been wonderful because some of the days this month have been gray—so gray—overcast or rainy and cold. About a week ago, we were supposed to have a sub-freezing night. Ellie, who absolutely loves flowers and goes outside to say hello to the stems popping through the earth nearly every day, was concerned about the one daffodil bud that had sprung too soon. To rescue it, she brought it inside. The yellow beauty of it also presented a lovely contrast to the bleakness of the outdoors on those chilly, rainy days.

Have a great week, friends!
I plan to be sharing later this week about another quilt project—the restoration of a quilt made by the great-grandma of its current owner.
Note: The name of Yellow Bird Nest for this quilt was used by permission of Kim Chapman.