
Learning Longarm Quilting
Last week, a friend asked me whether I finish quilts because she has a top that needs to be quilted. Because I have been doing all of my quilting on my regular sewing machine, which has been challenging for me, I decided to call my local quilt shop, Patchwork Plus, to ask if they provide longarm quilting services. They gave me a list of names of quilters who come to their shop to use their longarm quilter and will accept custom work. However, what they said next was of even more interest to me—the shop offers a longarm rental class and allows quilters to rent the machine once they have taken the class. This option appealed to me greatly. I prefer making my quilts from start to finish rather than outsourcing any part of it. So, I rearranged my schedule for this week, and signed up for the class! On Wednesday morning, I dropped my girls off at my mom’s house, and headed to Patchwork Plus in Dayton, Virginia.
Gail, the instructor has owned a longarm quilter for 25 years, if I remember correctly! She is definitely very experienced and knowledgable. Once she gave some basic instructions and guidelines for using the machine, she showed us how to properly load the quilt. The longarm machine that we used in the class was the Handi Quilter Amara.
I will be sharing the pictures that I took to help me remember what we did along with some helpful hints that she shared with me and the other participant in the class.
She said to first gather all of the needed supplies—thread, bobbins, and needles need to be purchased, but they provide the supplies for the machine maintenance.
Then load the backing, with the right side facing forward onto the belly bar, or the bar closest to you. Find the center of the backing and align it with the center of the rail. Using the stitching line on the rail fabric, align your fabric, pinning it in place before using the clamps to fasten it. A helpful hint that Gail shared is that the backing needs to be 8” wider and 8” longer than your quilt top.

She then rolled the backing onto the rail, giving these instructions: keep the fabric straight and loose. Don’t twist the fabric over the rail except to tighten any seams on the backing. Because of the thickness of any seams used to join the backing, that area needs particular attention when rolling the backing onto the rail. She also reminded us that 108” backing is nearly always rolled onto the bolt in such a way that the grain is crooked and needs to be re-aligned before used. She also recommended letting the batting relax about a day before using by spreading it out on a flat surface.

Once she had both the backing and the quilt top on the rails, she showed us how to pull the backing UNDER the leveler bar before attaching it to the back rail.

Once the backing is attached to the back rail, check to make sure that it is not too tight or too loose. She said that you want to be able to hold one hand under and one hand on top of the fabric and be able to grasp your fingertips through the fabric. “If you can bounce a quarter off of it, it’s too tight,” she said.
She also recommended trimming the batting to match the size of the backing to make it easier to clamp the sides and roll the quilt.
Once everything is in place, use the side clamps to stabilize the fabric.

Once she had the quilt loaded, she showed us how to clean and oil the machine, wind the bobbin, check the bobbin tension, change the machine needle, and thread the machine. Here are a few helpful hints that I recorded in my notebook:
Oil the bobbin race every 2 bobbins of thread used.
If having issues with the thread breaking, change the needle size to 18. If still having trouble, change the position of the needle. If the stitches are skipping, turn the eye of the needle to 5:30 position. If the thread breaks, turn the needle to 6:30.

She also demonstrated how to check the bobbin tension: lay the bobbin flat on your hand and then start pulling up on the thread. The bobbin should stand up (as shown below) but remain in the palm of your hand while the thread pulls easily. If the bobbin lifts off of the hand, the tension is too tight. If it doesn’t stand on its side, it’s too loose.

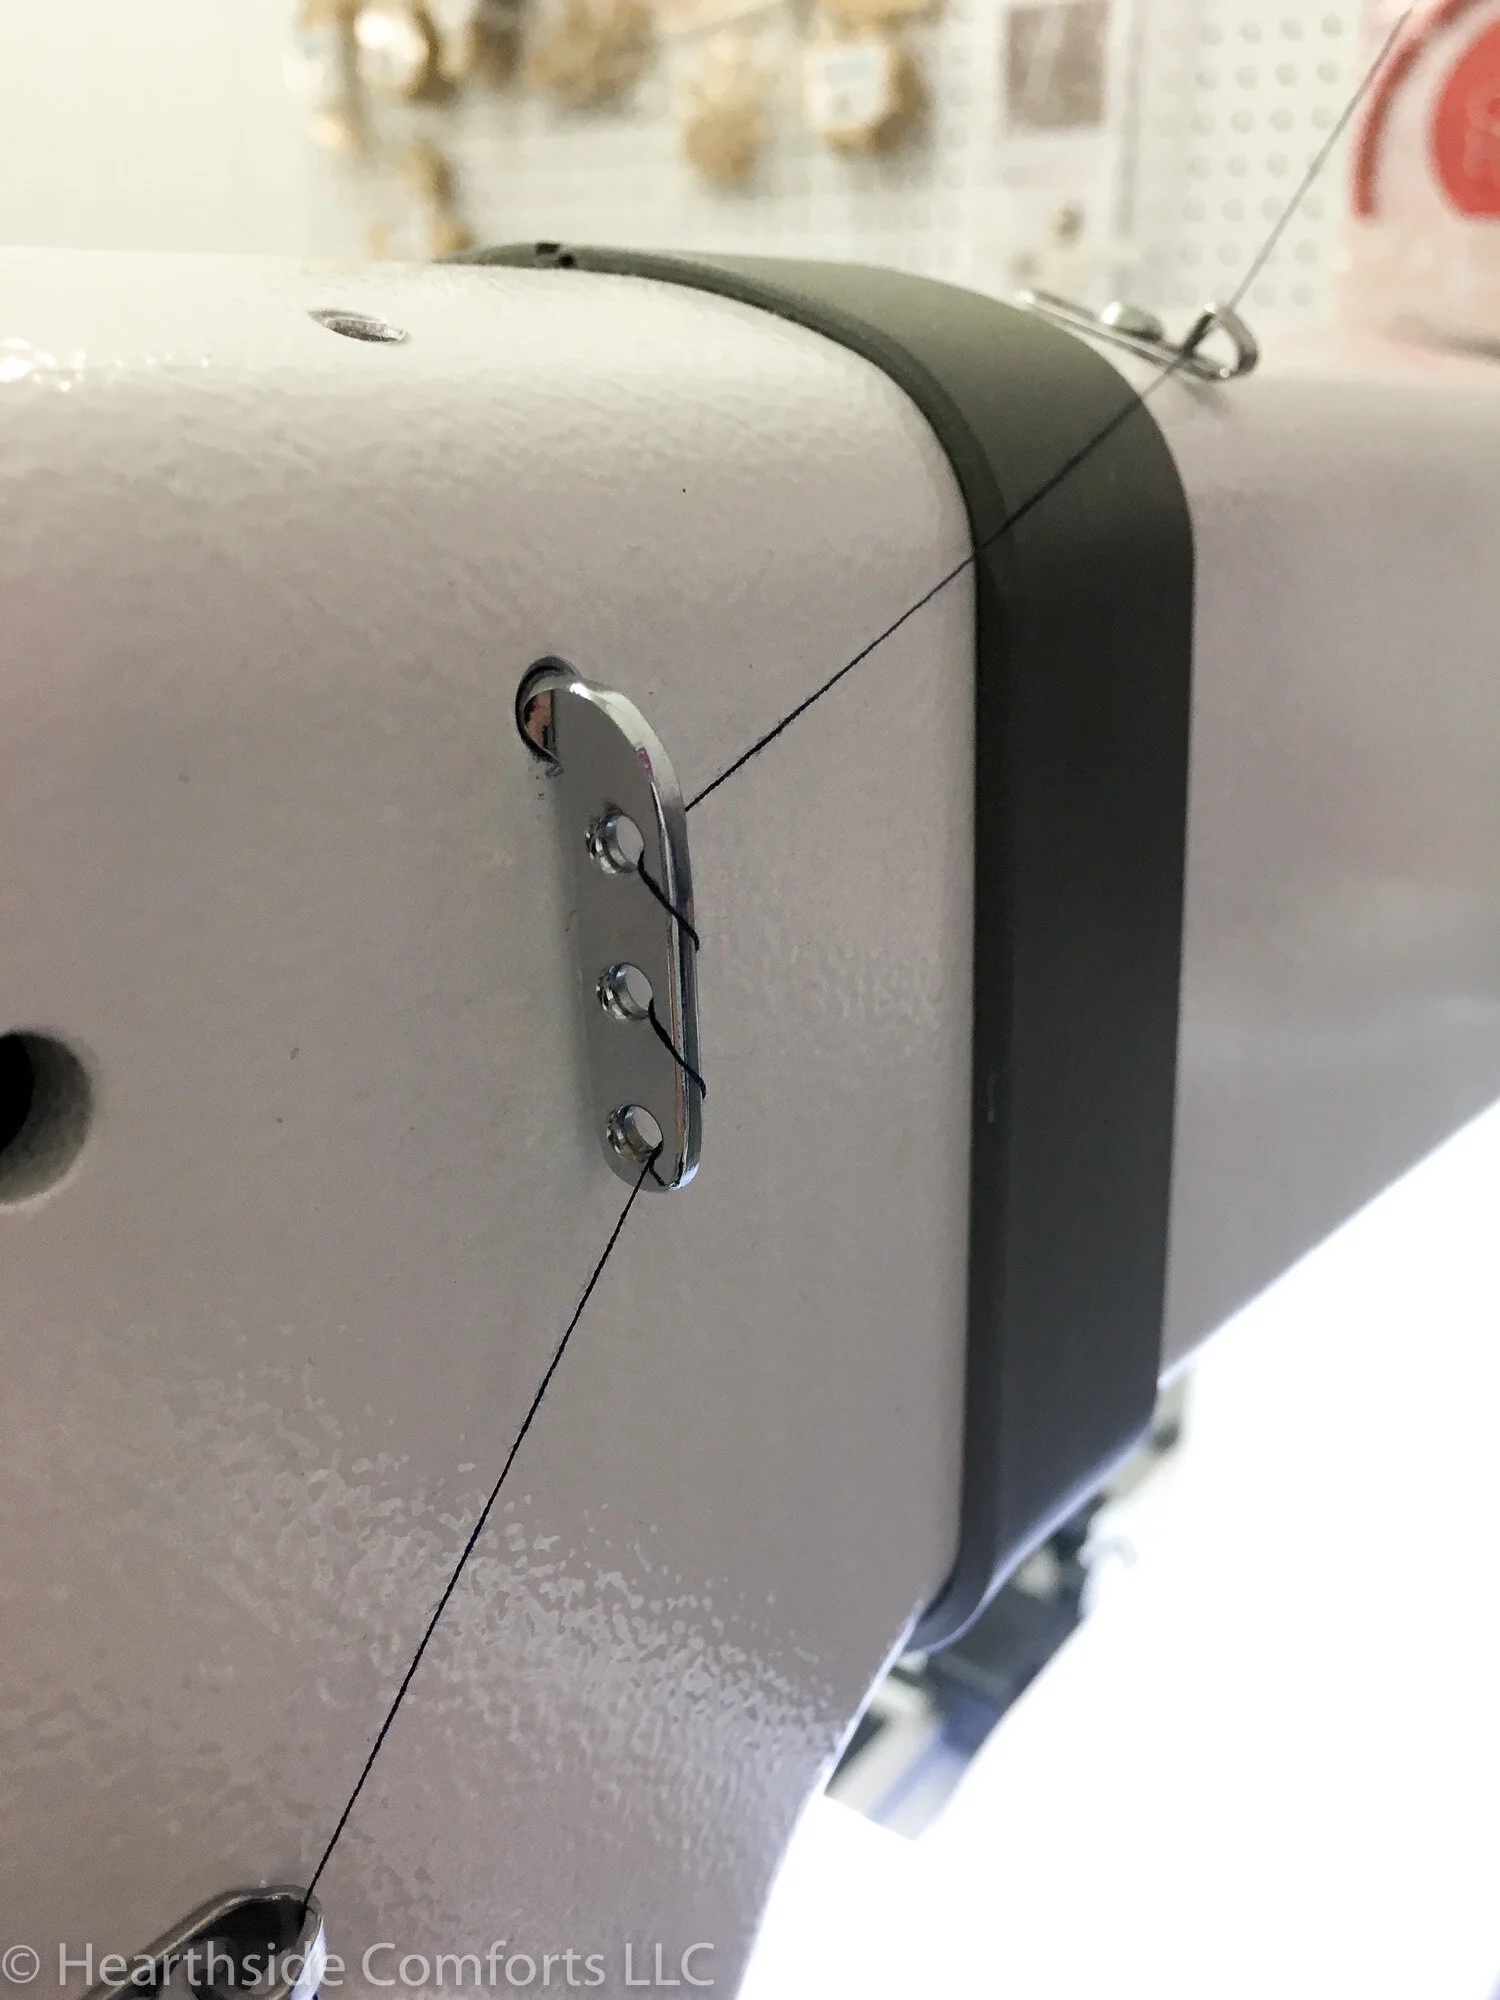
I took the following picture to remind myself how to put the thread through this location correctly.
And here she is showing us how to change and position the needle.

I took this picture of the screen to remember what settings I will want to use: the stitching is in regulated mode, with 12 stitches per inches in the precision mode setting with the needle set to remain in the up position.

When I asked about stitching over the feather-stitch embroidery with which I like to embellish my quilts, she showed me which foot I should use to help the quilt glide well under the foot. Note, however, that you would not want to use this foot if you were following lines of a quilting pattern because it is very hard to see through the plastic foot. So I will need to remember that all of my embroidered quilts will need to be quilted in a freeform quilting pattern.

Then, she had us practice quilting. She removed the quilt that we had loaded and placed some other fabric on which to practice. She instructed us to start by writing our name, so here I have recorded my very first longarm quilting steps. As I used the machine, I realized two things: 1) I will need lots of practice, and 2) I think that I will enjoy it so much that I will eventually want to buy my own machine!

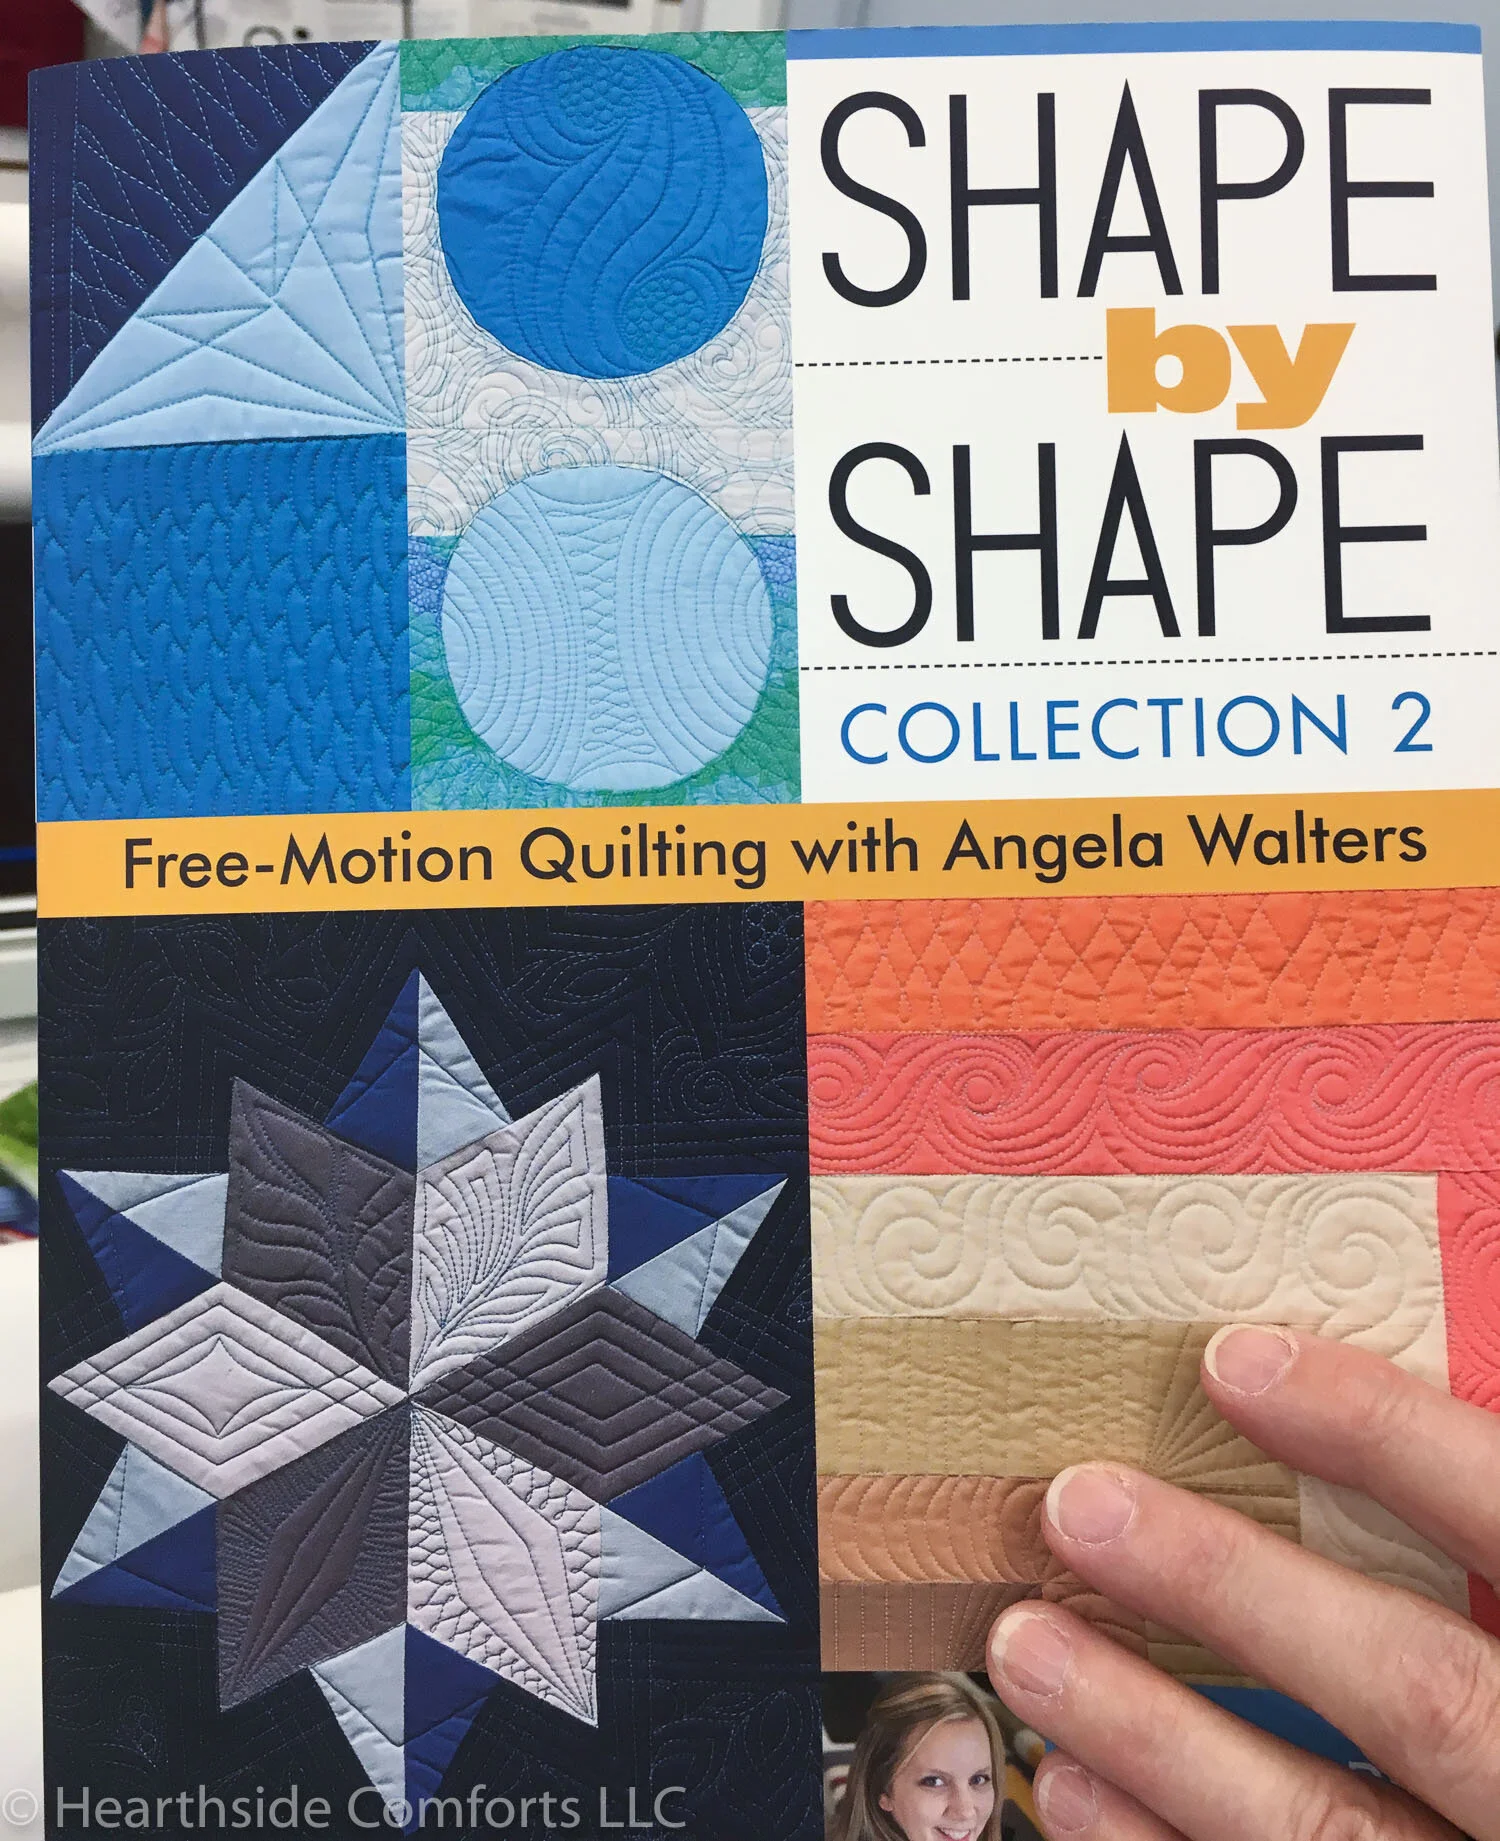
When I asked Gail for some ideas for stitching, she showed me this book Shape by Shape by Angela Walters to use for some instructions and inspiration. Since, I typically design my own quilt patterns, I am always looking for design inspiration—now, I will be looking for quilting inspiration as well to expand out of my previous stitch-in-the-ditch style.
I am so excited about learning this new skill because in addition to quilting the quilts I make, I can use this to quilt the layers of the tote bags and other items that I make. As the saying goes, a new world has opened to me…
If you are interested in seeing quilts that I have made, here is a top that I have made, but I am still working on hand-stitching a feather stitch on some of the seams: Yellow Bird Nest Quilt. And here is a link to other quilts that I custom-made for clients: Project Portfolio
Disclosure: As an Amazon Associate I earn from qualifying purchases.