
My First Major Furniture Make-Over (The Before)
Last week, I took some time to tackle some projects that have been on my to-do list for a while: clean and somewhat organize the laundry room, rearrange some flower pots on the deck and sweep it, and most importantly—start refinishing a piece of furniture!
We inherited this piece of furniture, which my late mother-in-law called a chifferobe, a few years ago. I do not know anything about the history of the piece except that this week, I saw this blog post, featuring a piece of furniture that was obviously made by the same company at the same time based on the wood (in the before pictures) and shape of the feet. According to that blog post, the pieces were from circa 1910. It had passed from my husband’s Grammy to his mom and then to us.
I thought that it would be a great piece for storage/organization, and when we moved to our new home last year, we decided that it would go in my husband’s study for office supplies. But weeks before we moved, our youngest daughter was diagnosed with mold allergies, and we had to clean everything that we moved into our new home. When I started wiping this piece down with hydrogen peroxide, the finish started coming right off. Refinishing it became a necessity. We left it in the basement garage over the winter because I didn’t have time to deal with it, and I didn’t have the tools and supplies I needed, etc.
This past week, I decided that it was time to start this project that Ryan has been so patiently waiting for me to do. The weather was beautiful, and I opened the garage door to feel the breeze and enjoy the trees and birds outside. I also opened the sander and sanding discs that we had ordered from Amazon. I ordered this sander; however, it appears that it has since been replaced by a newer model.
And so, around 5:30 one evening I started sanding. It was so exciting to see the wood grain appear from under the dark coating of old finish!
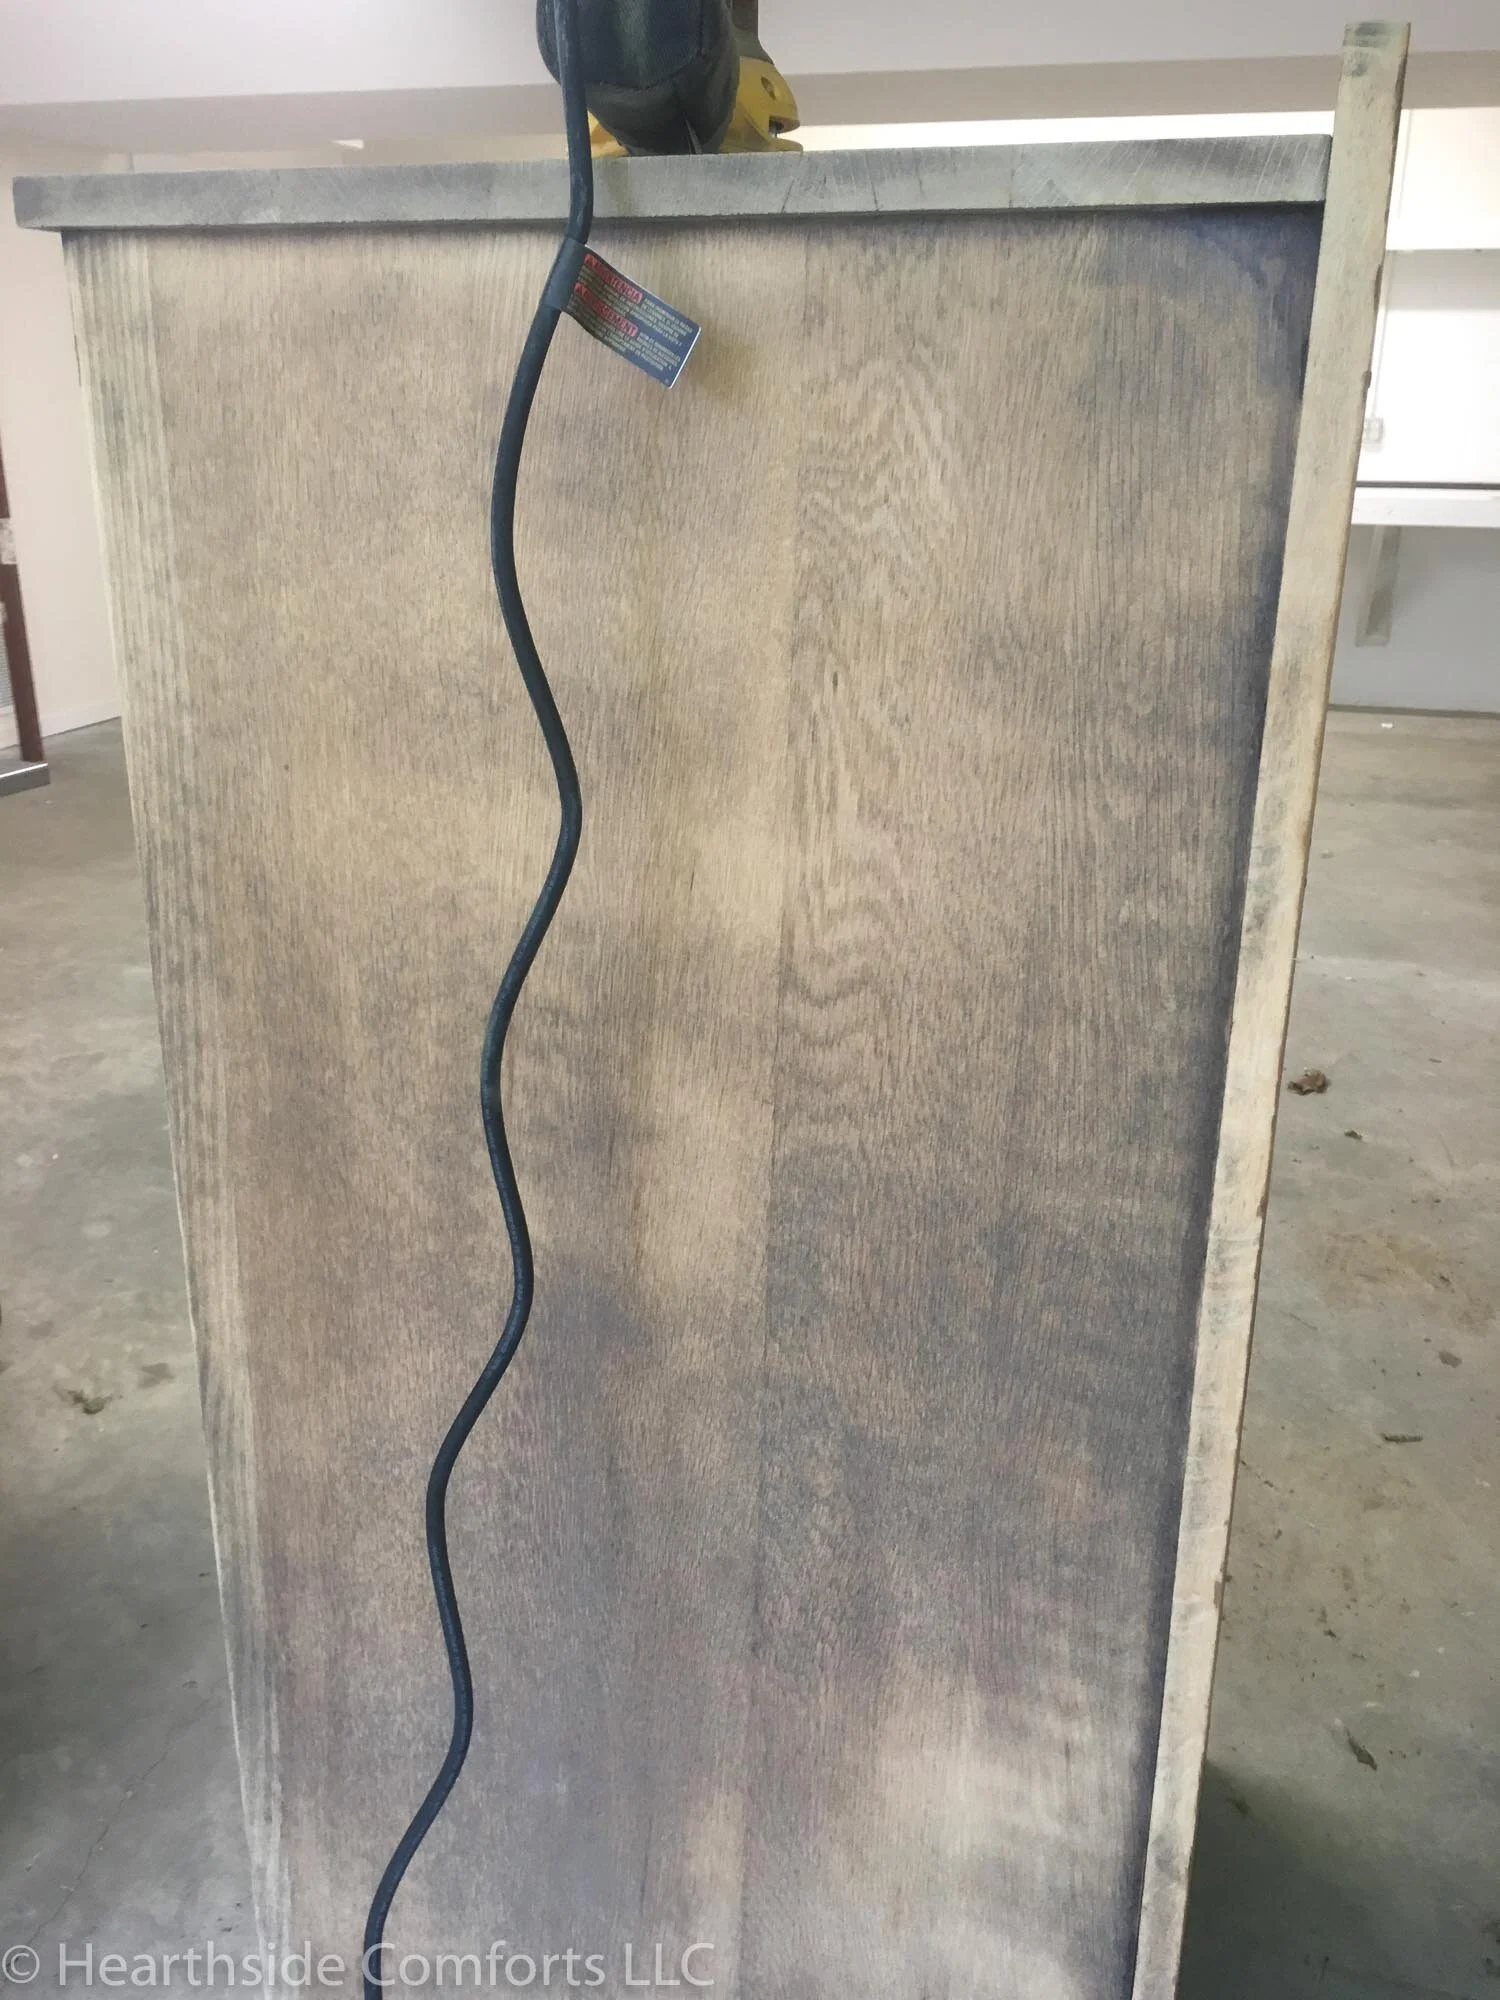


I sanded until it was time to go help put the girls to bed, and then went back to work. Finally, at 9:40 p.m., Ryan came to the garage and asked me if I knew what time it was. I replied that I did not. Because we live in a residential neighborhood, it was definitely past quitting time! By that time I had gotten most of the finish off, but I still needed to get to the corners that the orbital sander couldn’t reach.
Here is the main lesson that I learned during that time: Replace the sand paper (sanding discs) more frequently! I was trying to get as much use as possible out of each one; however, it wasted time. Sanding was so much more effective with a new sanding disc that I learned to replace it as soon as I noticed that it was taking me a long time to remove the finish in one area.

While I was working, I needed something to stand on to reach the top better, and I noticed that this little step-stool that I have been wanting to paint was sitting against the wall of the garage, and it was a handy little helper. We also inherited this step-stool. I thought it was so cute! It has so many possibilities for decor as well as being a handy little step-stool!

The next evening, when I went back to working on it. I used a mouse sander to get the corners. I don’t have the right shape of sandpaper for that sander so I used the round discs that I had and made do with them. To remove the finish, I used 60-grit sandpaper. Then I went over it again with 150-grit, and finally smoothed it with 220-grit.


I also roughed up the finish on the inside with 60-grit sandpaper. Because the main goal for this piece of furniture is mold remediation, I decided to coat the inside with a mold-killing primer that I found at Home Depot before painting the inside.

I had to stop working on this project to get back to sewing, but the current status is that I have since primed the inside of it, and I still need to sand and prime these drawers.

My plan is to apply MMS hemp oil to the outside and paint the inside of it white. I think that the wood grain is beautiful, which is why I do not want to paint the entire piece. Trust me, though, as I was sanding for hours and hours, I wondered why I hadn’t just painted the whole thing to start with and let it go at that! But I think that sanding it and applying MMS hemp oil to the exterior will produce a beautiful result. At least I hope so!
I hope to get back to it later this week, and I will share the progress…
If you have any helpful hints, please leave them in the comments below! I am always wanting to learn better ways of doing things!
Disclosure: This post contains affiliate links. As an Amazon Associate, I earn from qualifying purchases.