Learning New Embroidery Stitches
For many years, I have appreciated the embroidery skills that my Grandmother displayed on her amazing crazy quilts. I began using the featherstitch about six years ago, and learned how to make lazy daisies, but I hadn’t tried many other stitches.
Part of my ethos, both personally and professionally, is that items I make and items in our house need to be both beautiful and practical. I don’t have any plans to make velvet crazy quilts—but I do plan to learn all of the stitches that Grandmother used…AND…put them onto practical items instead of filling the house with hoops of embroidered fabric only for display.
This past week, after finishing two quilts that have been in process for quite a while, I decided to try learning some new stitches. I looked at a photo of Grandmother’s work, choose a stitch that I wanted to try, cut some linen, and began.
First, I marked a guide line with a chalk pencil since I wouldn’t be stitching on a seam as I usually do.
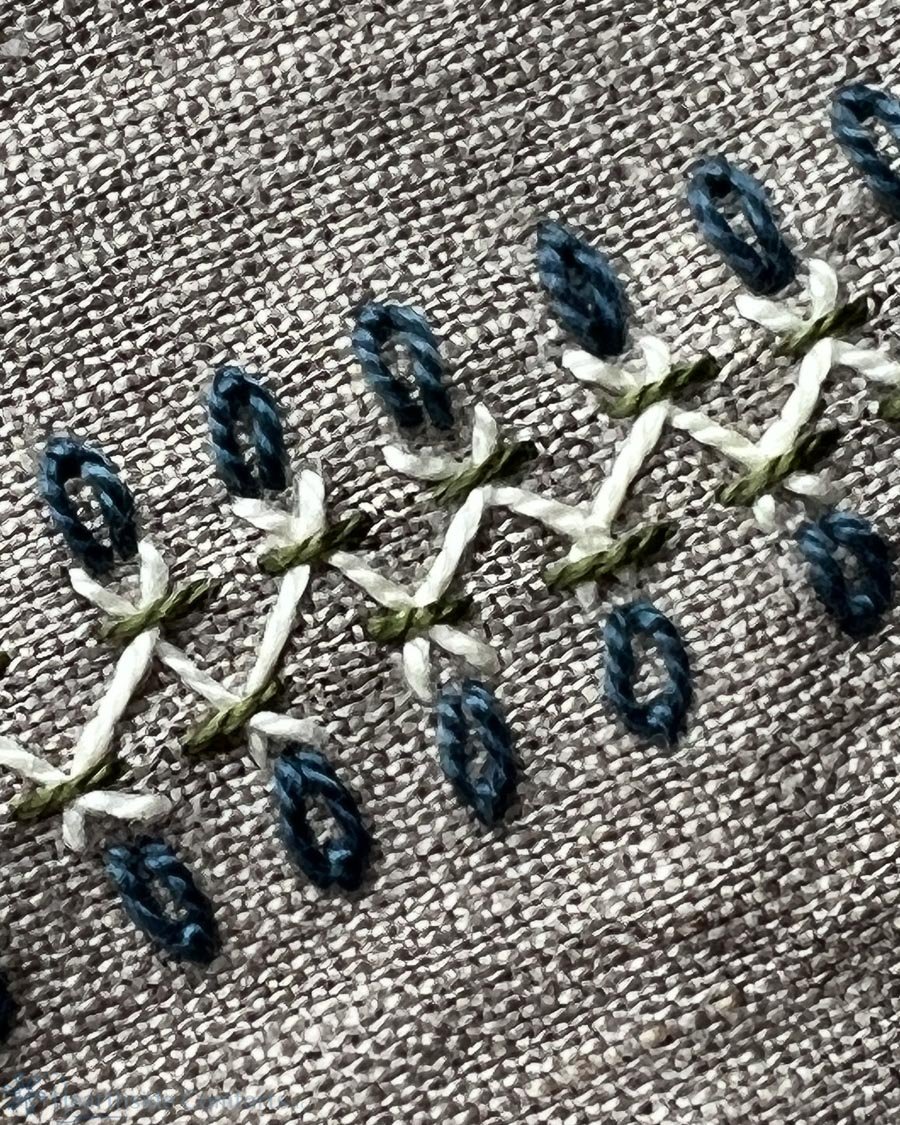
And I started with the ivory-colored thread. I apologize in advance that I haven’t researched the names of these stitches. I simply looked at a photo of something Grandmother made.
Then, I added a touch of blue.
I nearly left that stitching as it was, but because I was making a zippered pouch, I didn’t want the white stitches to catch on anything so I tacked those stitches down with green.
Once I had the embroidery finished, I serged around the edges and attached the stabilizer that I use to add structure.
I added a zipper and a cotton lining, remembering to include a label for posterity.
And here is the finished product! A practical, unique, zippered pouch that is the perfect size to hold my phone and charger cord. It would also be perfect to hold scissors and stitching supplies, pens and pencils, jewelry, paint brushes, cosmetic supplies, essential oils…although I am really delighted with the craftsmanship on this one and want to keep it for myself, it is available for purchase. I seriously don’t know what price to put on it. I spent at least six hours making it. Pricing is the worst part of what I do. So, if you absolutely love this piece and want to own it, please send me an email or message and tell me what it is worth to you. If you are the first person to make an offer that I can accept, we will work out payment and shipping details. The bag measures approximately 9” across the top and is approximately 4” tall. The base is approximately 2” x 7 1/2”.
And here is my exciting announcement! I have added this photo to Society6 so that you can order products with the design on it! Here is a link to my shop: My Society6 Products
“Learning to Stitch” Pearl Cotton on Linen by Marilla Melcher
Several upcoming projects that you will see me sharing about on my blog are as follows:
Making clothing for myself and daughters using Folkwear Patterns (Edwardian skirt, Prairie dress, etc.)
My favorite cotton yarn
Sewing with a piece of hemp fabric
Any many more!


