How to Make a Lavender Sachet
Have you ever wondered how to make a lavender sachet? Well, in this post, I will show you how to make a lavender sachet in a step-by-step process.
Last week, I filled an order for lavender eye pillows and lavender sachets for Under the Stars Farm. This past week, they completed their first lavender harvest for the year, and I placed on order for lavender buds to use in my upcoming color chart collection release (in case you are curious, I will be including small lavender pillows, basically, large lavender sachets, as one of the products in that release).
When I did a poll on Instagram asking whether a tutorial for a lavender sachet or a lavender eye pillow was preferred, a lavender sachet tutorial received the highest number of votes, so here you go…
How to Make a Lavender Sachet
Materials needed for a 3” square lavender sachet:
Scrap of fabric, measuring at least 3 1/2” wide by 6 1/2” long
4 - 6 Tbsp. dried lavender buds
Sewing machine or needle and thread for hand sewing
Scissors
Ruler
Step 1:
Cut your fabric into a rectangle. I give the measurements above for a sachet that will measure approximately 3” square when finished, but you can make a lavender sachet to be whatever size or shape that you want! I show you the two ways that I cut these fabrics because my yellow and blue toile fabric is directional. The blue fabric is not. Usually, I put the fold of the fabric on the bottom of the sachet. However, for the yellow and blue toile, I placed it on the side so that I didn’t have to add an extra seam. (I could have cut out two squares of fabric instead of a rectangle and sewed around all sides of the square to get the same result.)
Step 2:
Fold the fabric in half, right sides together.
Step 3:
Sew the two sides perpendicular to the fold, using 1/4” seam allowance.
If sewing by hand, draw a line 1/4” from edge of fabric on two sides to be sewn. Cut a length of thread. Thread the needle, knot the thread, and sew the edges as shown below.
Step 4:
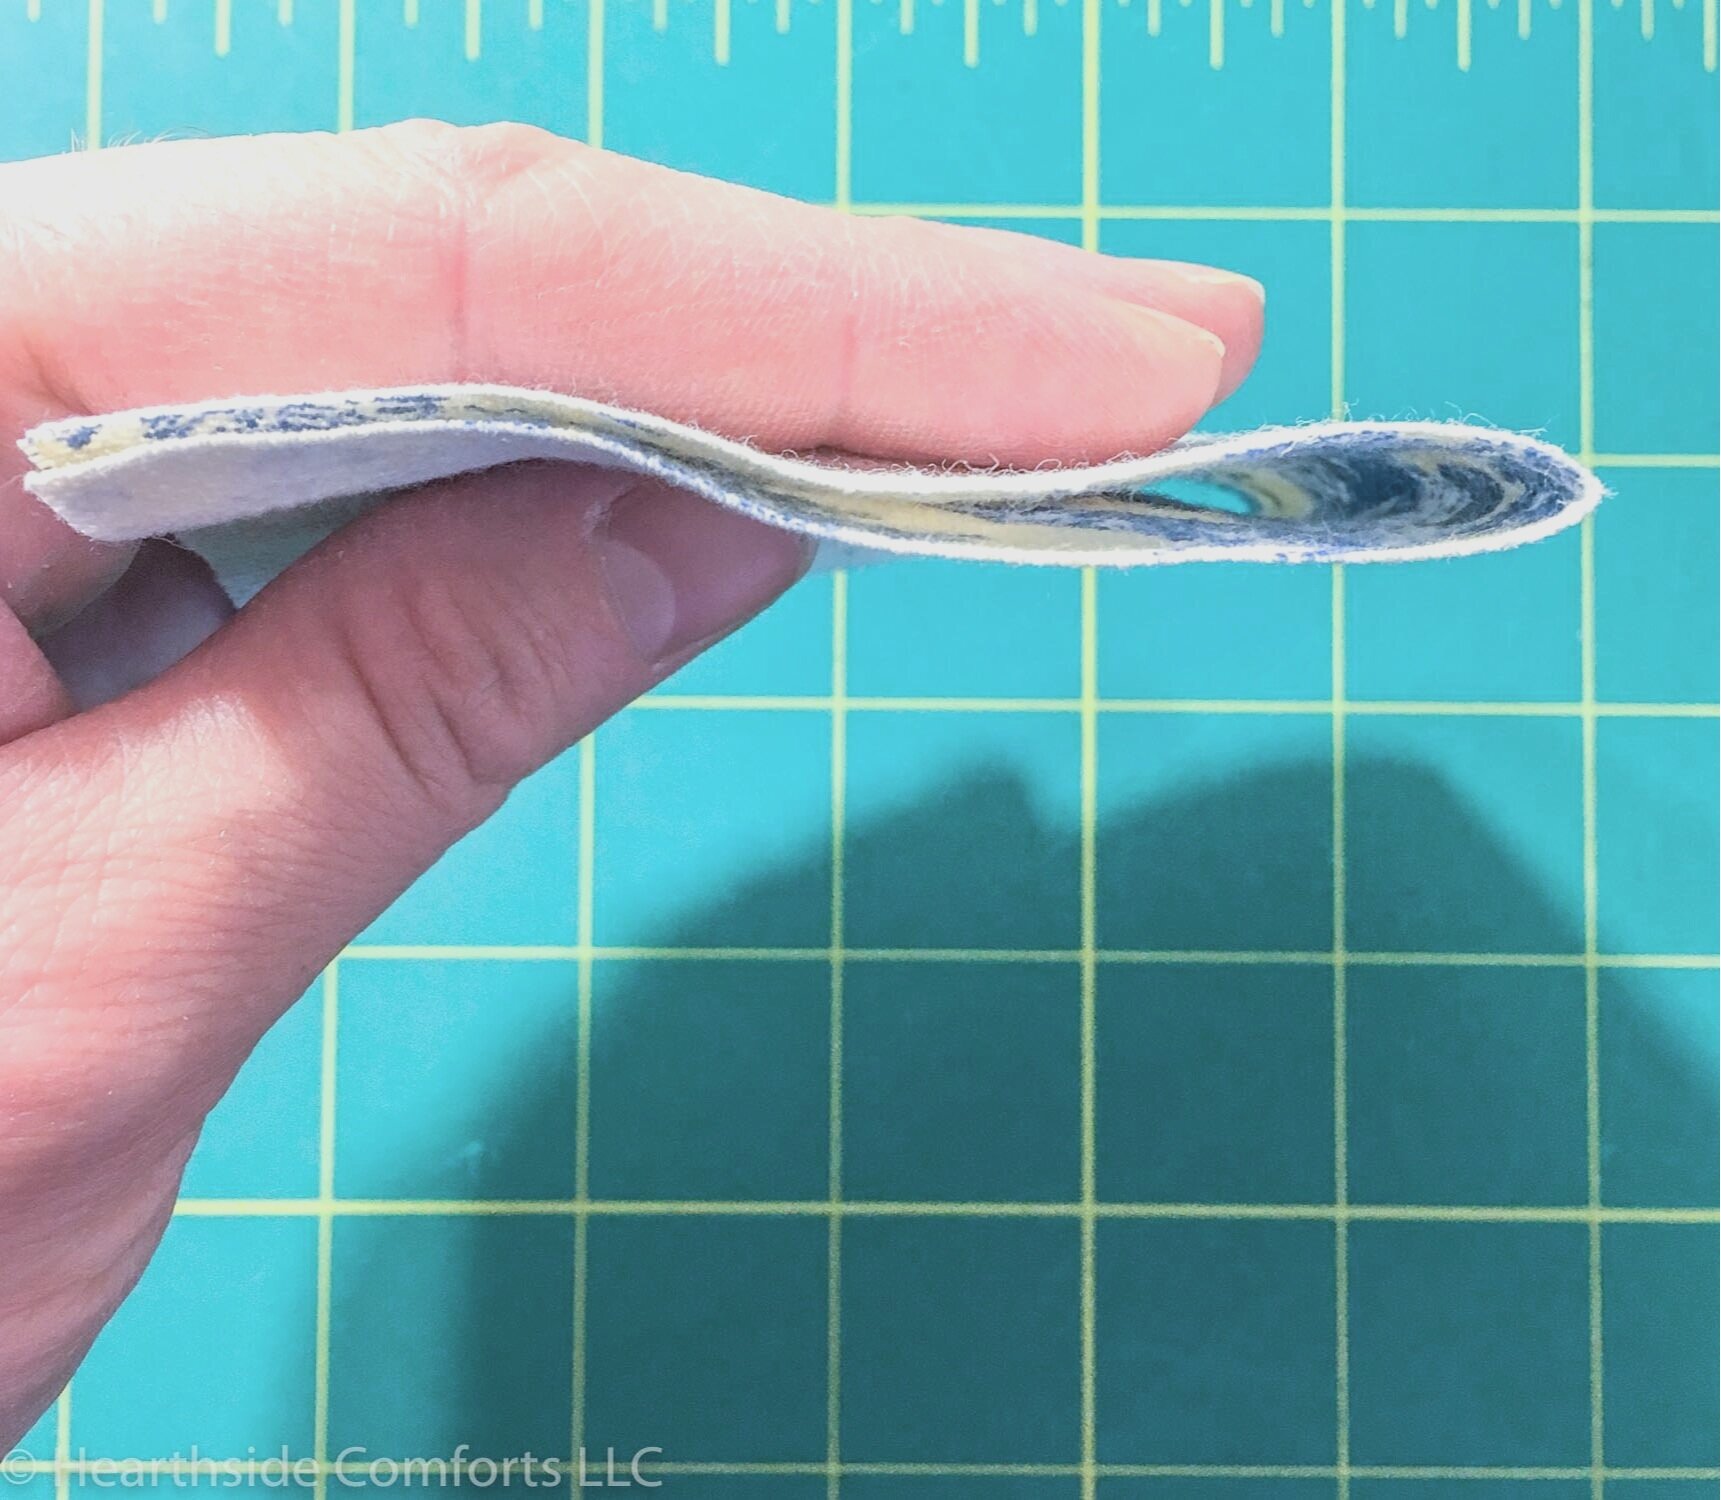
After two sides have been sewn, turn the sachet right sides out. I like to use the end of a crochet hook to push the corners out, but something like chopsticks or the eraser end of a pencil could work, too.
Step 5:
Turn the raw edges of the sachet in about 1/4” and press.
Step 5a (optional):
At this point, you can topstitch around three sides, but this is completely optional. If you choose to do so, here is a helpful hint for sewing close to the edge of fabric: move your needle position so that the stitching is closer to the edge, but the fabric remains in the same position as sewing a 1/4” seam allowance. This allows the fabric to feed through on the feed dogs better.
Step 6:
Fill with lavender buds! For this size of sachet, I use approximately 5 Tablespoons of buds, more or less depending on how full I want it to be and whether I am stitching it closed by machine or by hand. If machine stitching, do not overfill it or it will be difficult to sew the edges closed.
Step 7:
Sew the opening to enclose the lavender.
Sometimes, if the machine is having a difficult time sewing through the layers of fabric in the corners or if I want a sachet to be really full, I will stitch the top closed by hand, using a whip stitch.
Step 8:
Enjoy!
If you would like further instructions on how to add a ribbon as shown in the picture here, let me know, and I will send you the additional instructions in a separate pdf, or you can access my free resource library by entering your email address below. And, as always, if you have any questions, please email me!
And I am excited to announce the winner of last week’s giveaway for the linen color chart lavender sachet is Cheri D. of This Cottage Life! Congratulations, Cheri, and thanks for entering!
And if you missed last week’s post and want to read about my upcoming collection release, you can find that post here: Color Chart Collection Announcement.
If you want to watch my five-year old sew a lavender sachet by hand, you can find the story saved on my Instagram Highlights. You can find me @hearthsidecomforts.


