DIY Fruit Fly Trap and Baking Soda Deodorizer
A couple of years ago, we had an invasion of fruit flies. It was the worst I had ever experienced in my memory—maybe some fruit that we had purchased contained hidden eggs that hatched when we got home??? I don’t know, but it was awful. In desperation, I googled to find ways to get rid of them, and came across the suggestion of putting some mashed bananas in a jar and putting a funnel in the top of the jar. I searched for my funnel, but considering that I had let my then 2-year old play with it, it was MIA…so I looked around for something else to use.
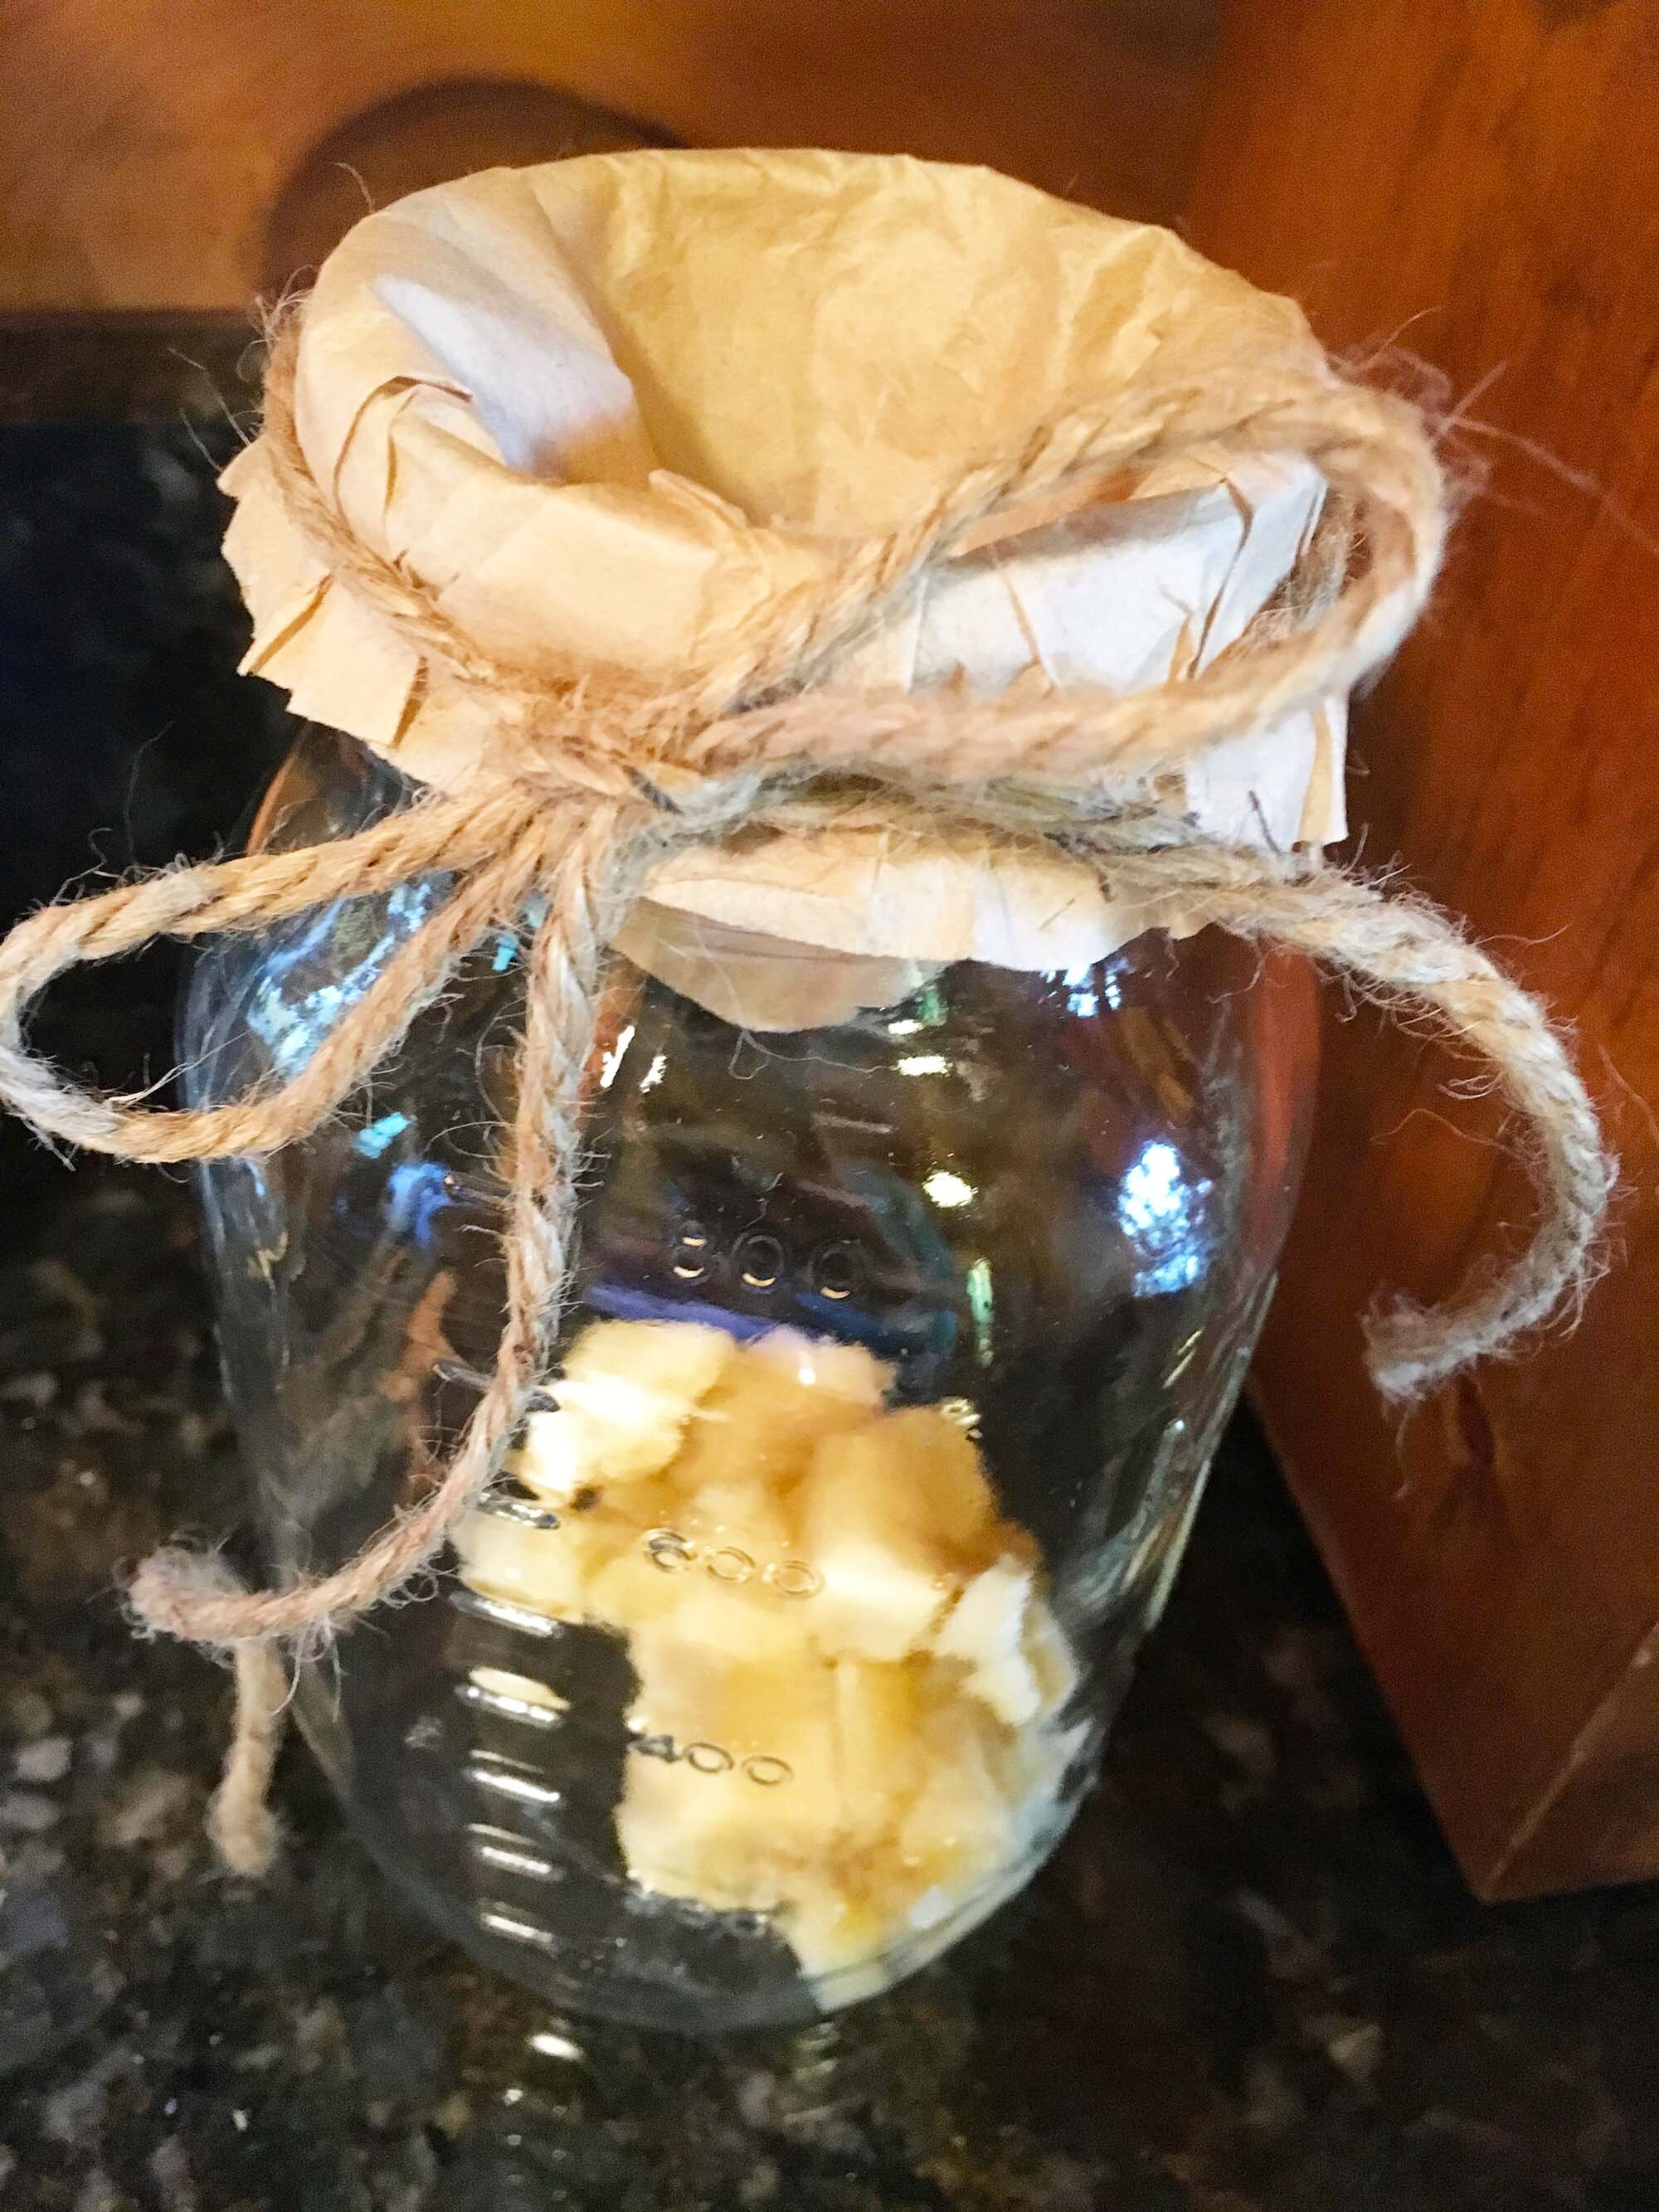
I took a coffee filter, folded it into quarters or eighths, and cut a small hole in the center to make a funnel, placed it over the top of a quart jar with mashed bananas in the bottom. I was planning to use a rubber band around the top, but I didn’t want to leave the children (then infant and toddler) alone upstairs while I went to get one from the office supply drawer in the basement. So, I grabbed some twine out of the kitchen drawer and tied it, making this fruit fly trap, and it was effective! And not only that, but it looked pretty sitting out on the countertop. Thankfully, I haven’t needed to make one since then.
Fruit fly trap
A few weeks ago, a coffee filter, some baking soda, and a hot glue gun came to my rescue when I needed a deodorizing pack to absorb some smells that lingered in the trash can after I removed a particularly smelly bag of trash. I took a coffee filter and put baking soda in it and glued around the edges and put it in the bottom of the trash can. The whole process took less than 10 minutes and cost much less than buying pre-made deodorizing packets. These deodorizer packets can be used anywhere that needs a little odor removal—refrigerators, trash cans, shoes, etc. Below you will see step by step instructions.
Items needed:
1/4 to 1/3 cup baking soda
coffee filter
low temp hot glue gun
ribbon, optional
Fill the coffee filter with baking soda as seen above and place glue around outside edge (below).
Continue placing glue around the outside edge until you have gone almost, but not all the way around, folding down as you go. (Note: it is very important that you use a low temp glue gun or you will burn your fingers!) The last inch or so, you will need to place the glue on the inside of the filter to close the packet.
Once you have completed tacking down the last piece, you can stop here with a finished product if you don’t care how it looks. Or, if you prefer, you can add a ribbon around it. (I just used some scrap ribbon that I had on hand.)
Or, if you want to be really fancy, you can even add a bow to it.


