
Making a Crazy Quilt Square-Part 4 (Final)
As I hand-stitched the binding on this mini-wall-quilt by lamplight in the dark morning hours, I reflected on how much I enjoy the sound of the needle pulling the thread through the fabric. My mind wandered…I dreamed of future projects; I thought of ideas and plans for my business. The experience of hand-sewing is soothing, comforting, and relaxing to me. The only sound missing this morning was the ticking of an old-fashioned clock. Even though I occasionally heard the chiming of our clocks, both of them are battery operated, which does not give the same feel to the room as the sound of the ticking of a hand-wound clock. Yes, I am an old soul. I thoroughly enjoy stories and items from the past. I long to return to the days when the pace was slower—when items were built to last a lifetime and be passed to future generations…And when I sew I hope that the things I make will be of that quality—beauty and comfort to be appreciated by this and future generations.
As you know if you have read Part 1, Part 2, and Part 3 of this series, I started this project using fabric from ties that a cousin gave to me. My intention originally was to make a pillow cover; however, as I worked with it, I decided to make a mini-wall-quilt. I was concerned that the fabric would snag too easily if used as a pillow. And I didn’t want to create a pillow that couldn’t be used as a pillow! I was so thankful that I had decided to use the ByAnnie’s Soft and Stable as a batting because of the structure that it provides this piece.
When I left off in Part 3, I had started the embroidery stitching. I was hoping to get it completed over the weekend, but Saturday was full of cleaning and laundry chores. I completed the stitching on Tuesday and couldn’t wait to finish the project. On Wednesday, I cut out the backing and prepared bias binding. Even though bias binding wasn’t necessary because I was using it on straight lines, I wanted the look of bias fabric and bias binding is more durable.
I used Wonder Clips to fasten the backing to the front.

And I created pockets for a dowel rod by cutting two 5” inch squares of fabric and pressing them into the shape of a triangle. I attached them on top of the backing using 1/8” seam allowance.


Once the pockets were completed, I sewed around the rest of the edges. Because I was going to sew the binding to the front by machine first, I wanted to make sure that the backing was attached so that it would not shift or pucker. One of the wonderful things about the Soft and Stable batting is that does not have to be quilted to the backing like most battings that need to be stitched every few inches. I then attached the binding to the front and a small miracle occurred…the bobbin thread had this much thread left when I reached the end. Almost always, I run out right before I finish a project—I don’t think I have ever had the bobbin thread provide the exact amount needed for a project!

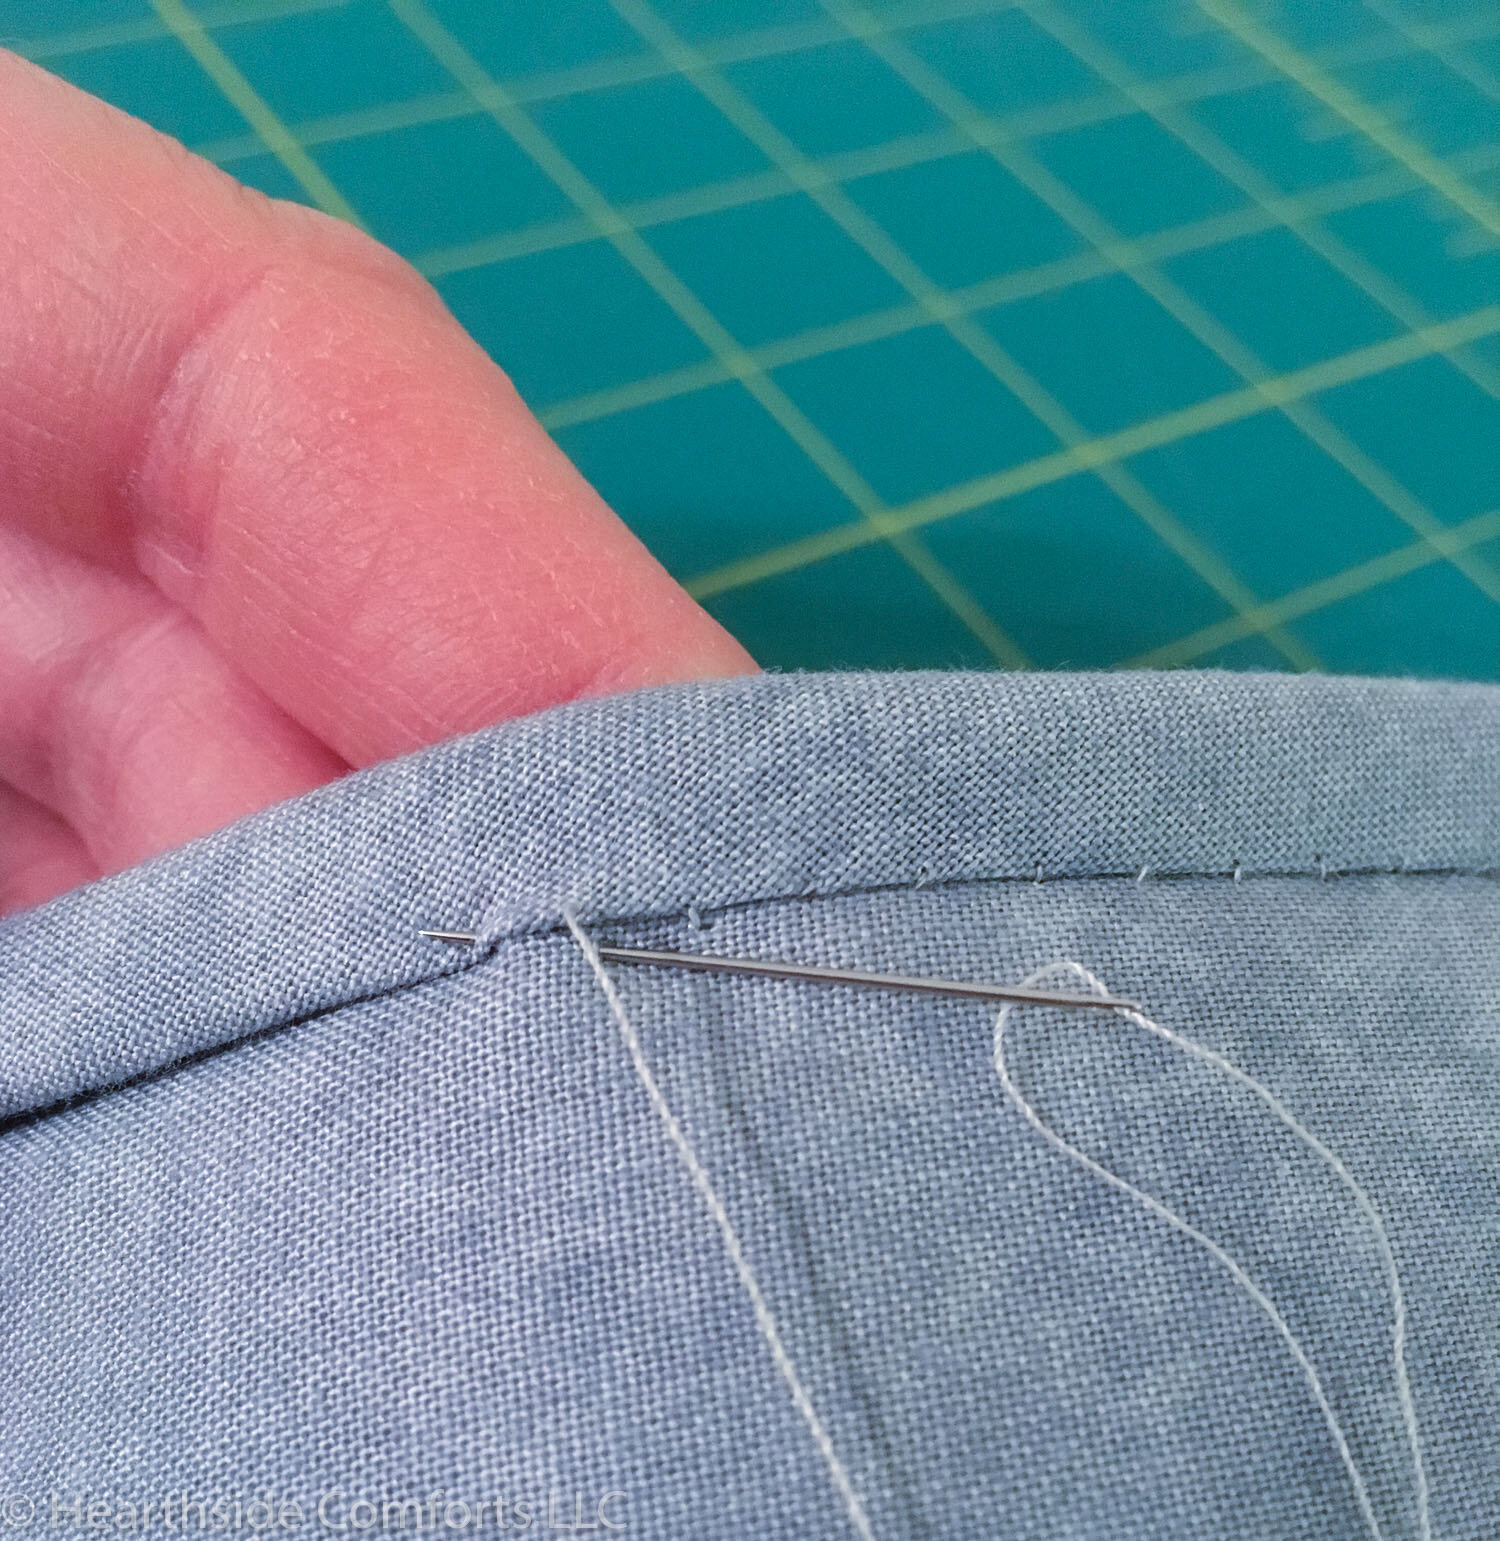
The next step was to hand stitch the binding on the back of the wall quilt.
I made mitered corners—they are actually easy and provide a nice finish.

Once I was finished, I slipped the dowel rod into the pockets…

…and hung it on the wall to take a picture for you!

If you have any questions about the steps or techniques I used, please let me know.
Also, I am not planning to keep this for myself—it is available to go to another home.